How to Season a New Grill (And Why It Matters)
Seasoning a new grill is one of those steps people skip because nothing bad happens immediately if you don't do it. But there are good reasons to do it, and it takes less than an hour.
Here's what seasoning does, and how to do it right for every grill type.
Why Seasoning Matters
It removes manufacturing residue. New grills come from the factory with oils, protective coatings, metal particles from cutting, and other residue from the manufacturing process. Burning through this before your first real cook means none of it ends up in your food.
It protects the grates. A properly oiled and heat-polymerized layer on cast iron or steel grates resists rust and creates a non-stick surface that gets better with use. Without this layer, grates are more prone to rust and sticking.
It gives your grill a head start. A seasoned grill cooks more evenly from the start, food releases more cleanly, and cleanup is easier.
How to Season a Charcoal Grill
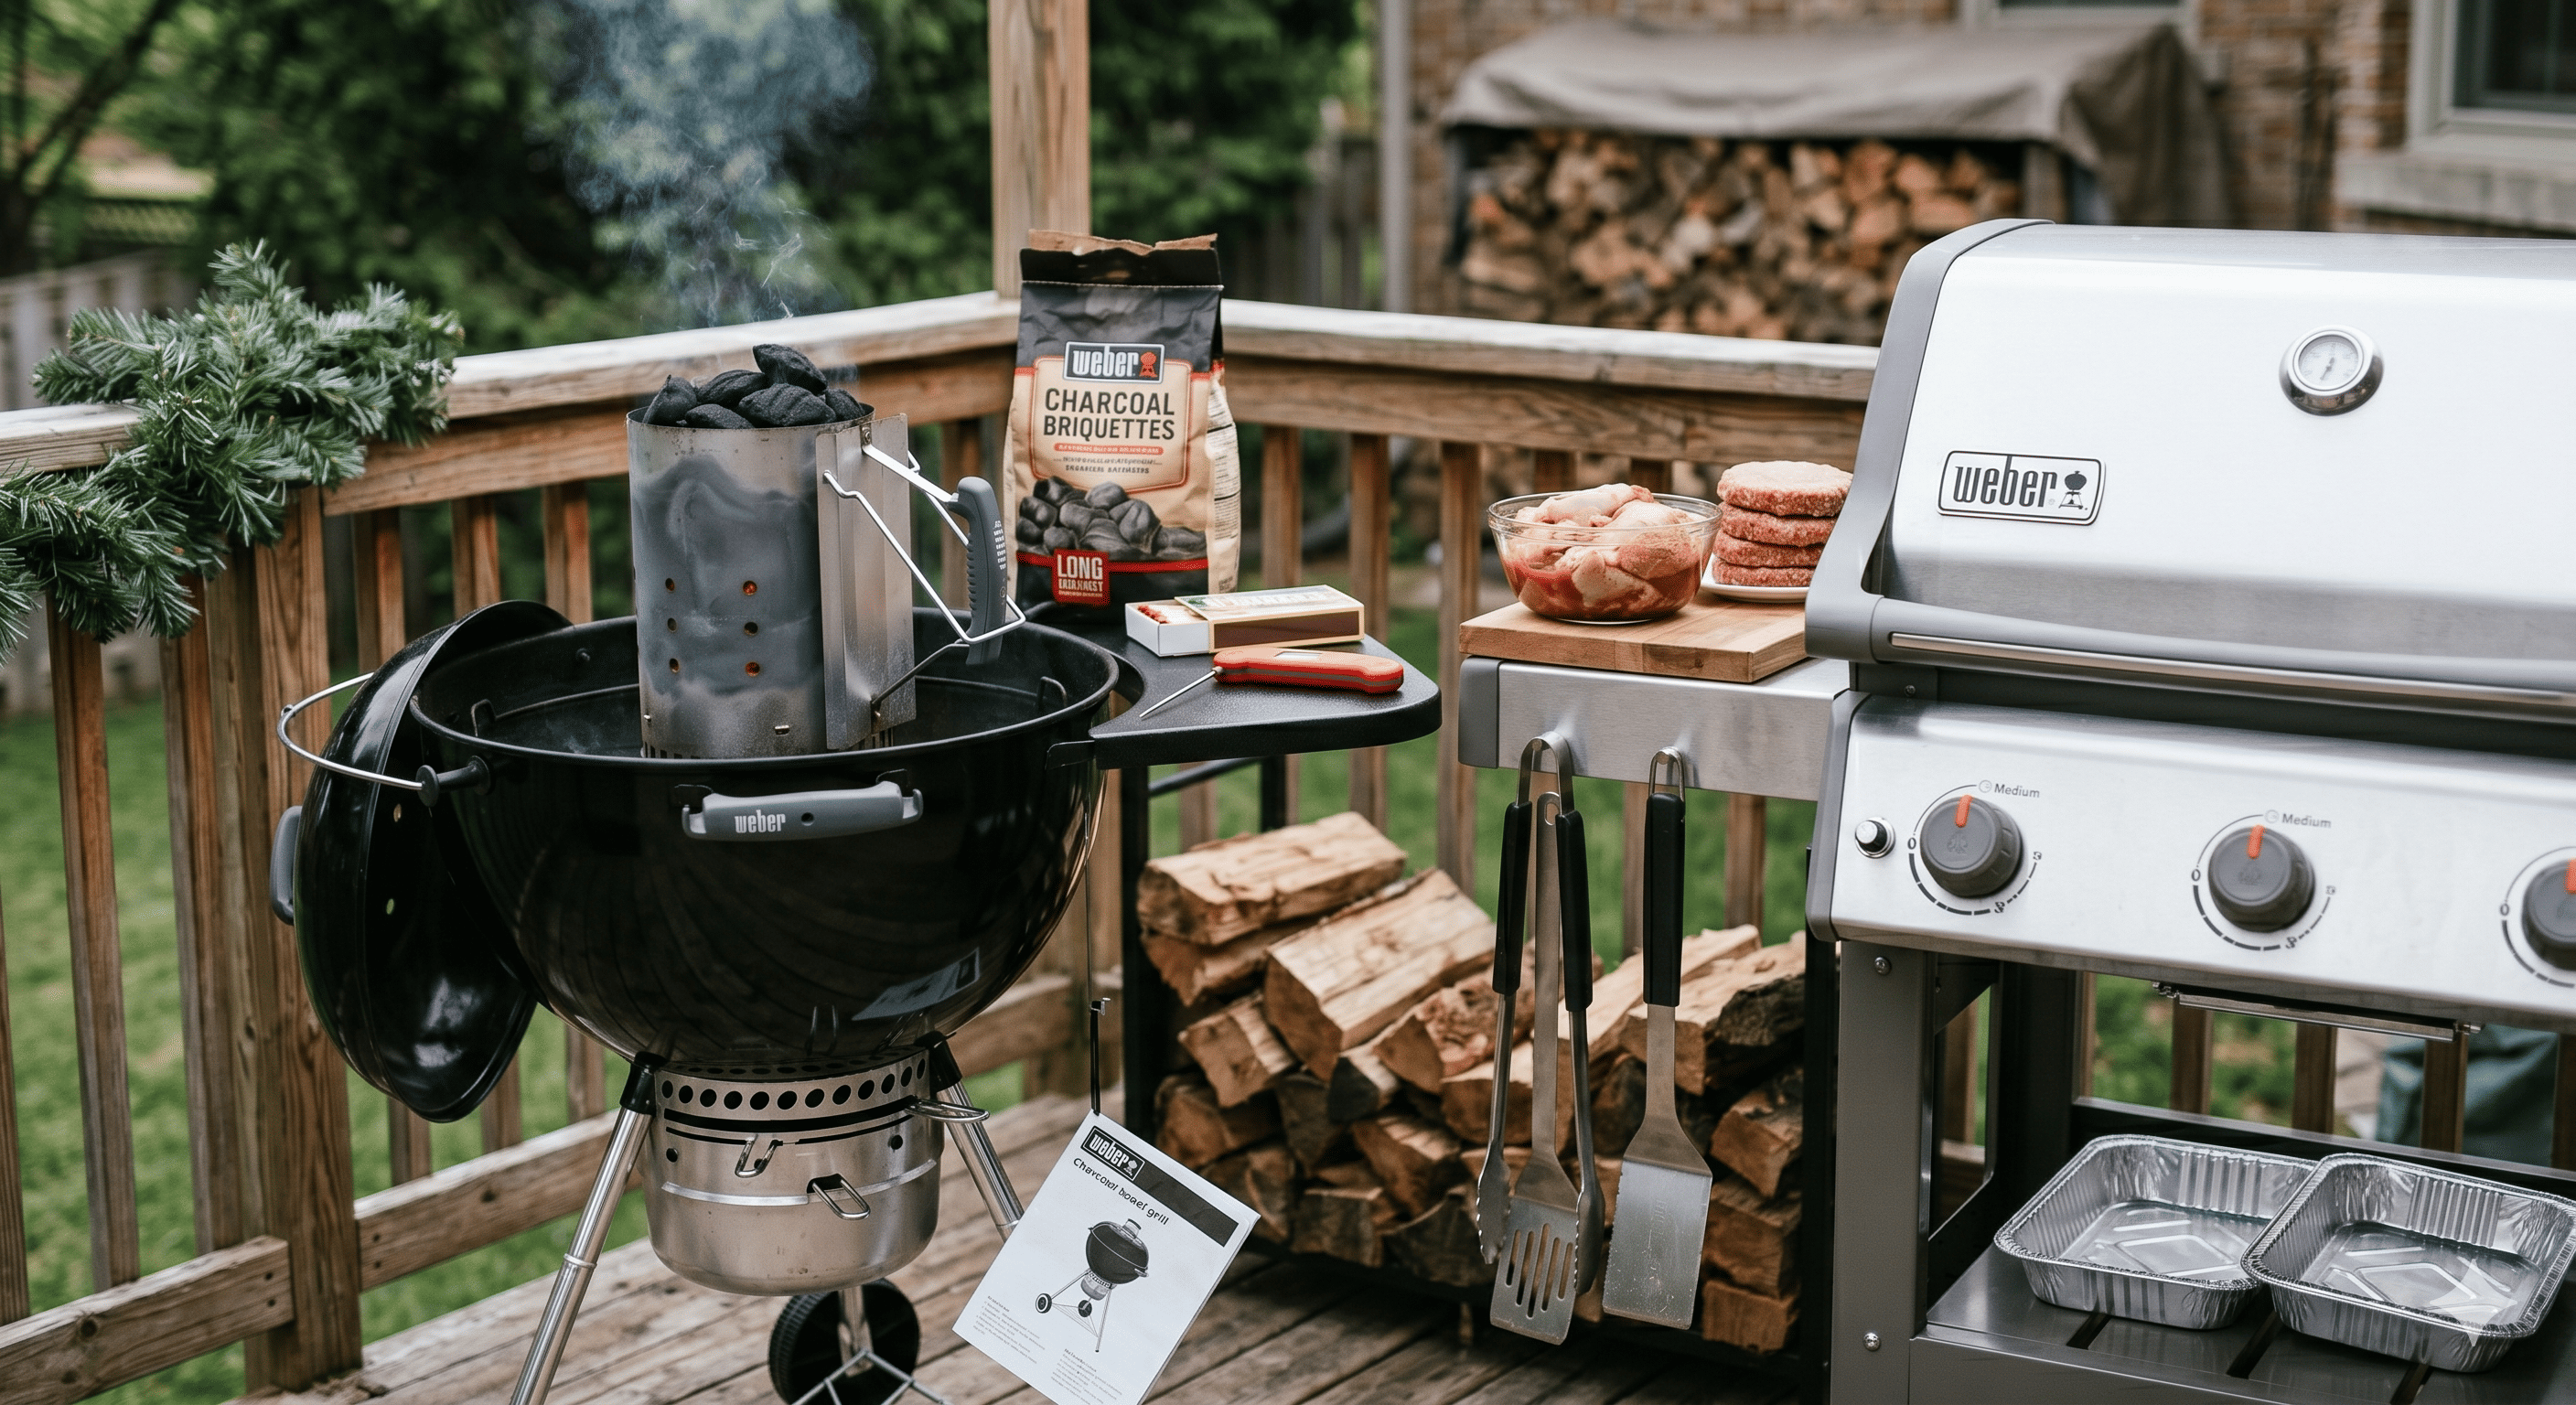
What you need: Charcoal, lighter or chimney starter, high smoke point oil (vegetable, canola, or flaxseed), paper towels.
Step 1: Wipe down the interior. Before lighting anything, wipe the interior of the bowl and lid with a damp cloth to remove any dust or debris from shipping.
Step 2: Light a full load of charcoal. Fill the charcoal grate completely and light. You want a hot fire — hotter than you'd normally use for cooking.
Step 3: Run it hot with the lid closed. Once the coals are lit, place the cooking grate on top, close the lid, and open all vents fully. Let it run at high heat for 30-45 minutes. The grill will smoke — this is normal, and it's the manufacturing residue burning off.
Step 4: Oil the grates. After 30-45 minutes, open the lid and let the grates cool slightly until you can safely get close. Using tongs, wipe the grates with a paper towel soaked in vegetable oil. Apply a thin, even coat across all surfaces including the underside.
Step 5: Close the lid and let the oil polymerize. Close the lid and let the remaining heat continue to work for another 15-20 minutes. The oil will bake onto the grates and begin forming the non-stick layer.
Step 6: Let it cool completely before your first cook. Your charcoal grill is ready. For the first few cooks, apply a light coat of oil to the grates before cooking.
How to Season a Gas Grill
What you need: Propane or natural gas connection, high smoke point oil, paper towels.
Step 1: Wipe down the grates and interior. Remove the grates and Flavorizer Bars (or equivalent). Wipe everything down with a damp cloth to remove dust and packaging residue.
Step 2: Turn all burners to high. Turn all burners to the maximum setting, close the lid, and let the grill run for 20-30 minutes. The grill will likely smoke — manufacturing residue burning off.
Step 3: Turn off and cool slightly. Turn the burners off and let the grill cool for 5 minutes until you can safely get close to the grates.
Step 4: Oil the grates. Apply a thin, even coat of oil to the grates using tongs and a paper towel. Don't use too much — a thin coat is all you need. Too much oil becomes sticky.
Step 5: Run at medium-high for 15 minutes. Turn the grill back on to medium-high heat and let the oil bake onto the grates for 15 minutes. Turn off and let cool.
Your gas grill is ready to cook.
How to Season a Flat Top Griddle (Blackstone or Similar)
Flat top griddles require the most seasoning because the entire cooking surface needs to develop a non-stick patina. This process takes slightly longer but is straightforward.
Step 1: Wash the griddle surface. Use warm soapy water and a cloth to clean the cold griddle surface. This is the one time soap is acceptable — it removes the factory coating. Rinse thoroughly and dry completely.
Step 2: Heat the griddle until it starts to discolor. Turn all burners to high. The flat top will start to turn from silver to brownish-black — this is normal. Let it heat for 10-15 minutes.
Step 3: Apply the first coat of oil. Turn the heat to medium. Apply a very thin coat of flaxseed oil, canola oil, or vegetable oil across the entire surface using a paper towel and tongs. Spread it evenly and thin — excess oil will pool and become sticky.
Step 4: Let it smoke off. The oil will begin to smoke — this is the polymerization process. Let it smoke until it stops (5-10 minutes).
Step 5: Repeat 3-5 times. Apply another thin coat of oil, let it smoke off, and repeat. Each layer builds the non-stick patina. After 3-5 rounds, your flat top is seasoned and ready to cook.
Maintaining Your Seasoning
After every cook: while the grill is still warm, scrape the grates clean with a grill brush, then apply a thin coat of oil before storing. This prevents rust and maintains the non-stick surface.
The more you cook on a well-seasoned grill, the better it performs. Grates and flat tops develop a deeper non-stick layer with use — which is why experienced grillers often prefer a well-used grill over a brand new one.
Just got your first grill? Read our guide on best grills for beginners for everything else you need to know. Deciding what to cook first? See the best BBQ grills for hosting friends for inspiration.
About the Author
Derek Hollis has spent the last 12 years testing grills, smokers, and outdoor cooking gear for a living — first as a backyard hobbyist who couldn't stop buying grills, then as a full-time product reviewer. He's fired up and broken down more than 150 grills across every price range. When he's not testing gear, he's hosting backyard cookouts for friends and family in Austin, Texas.